Screen Recording
 Screenshot Capture
 GIF Capture
 File Sharing & Collaboration
 Jumpshare AI
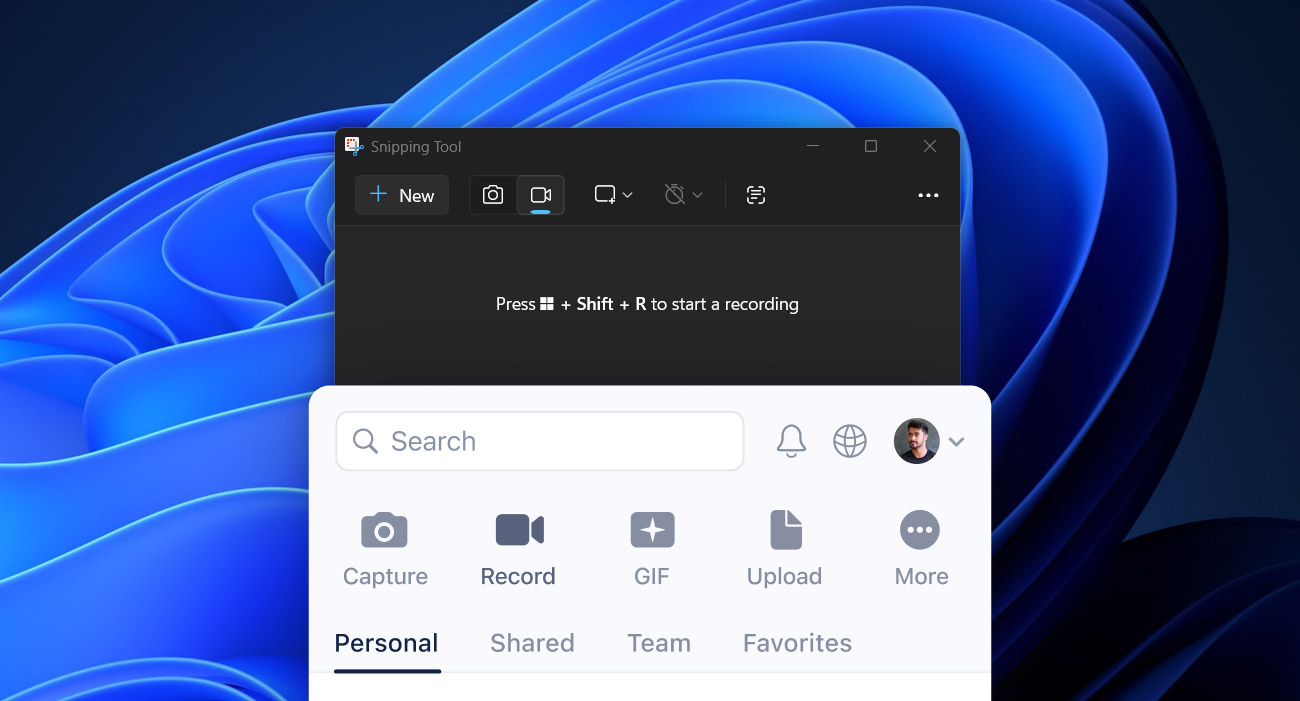
Some things are simply easier to explain visually. Instead of writing detailed instructions or scheduling another meeting, you can record your screen and communicate your point in just a few minutes. Thankfully, Windows comes with free, built-in tools that can handle basic screen recording, but if you need advanced recording features, better sharing options, and more flexibility overall, a dedicated third-party tool like Jumpshare can save you time and effort.
In this guide, we’ll walk you through all three methods so you can pick the one that fits your needs:
How to Screen Record with Windows Snipping Tool
Recent versions of Windows 11 include screen recording directly within the Snipping Tool. Here’s how you can record your screen using Windows Snipping Tool:
- Open the Snipping Tool by searching for it in the Start menu. On Windows 11, simply press the Print Screen (PrtScn) key.
- Switch to the Record tab by clicking the video camera icon, then click New. You may skip steps 1 and 2 by hitting Windows + Shift + R on your keyboard.
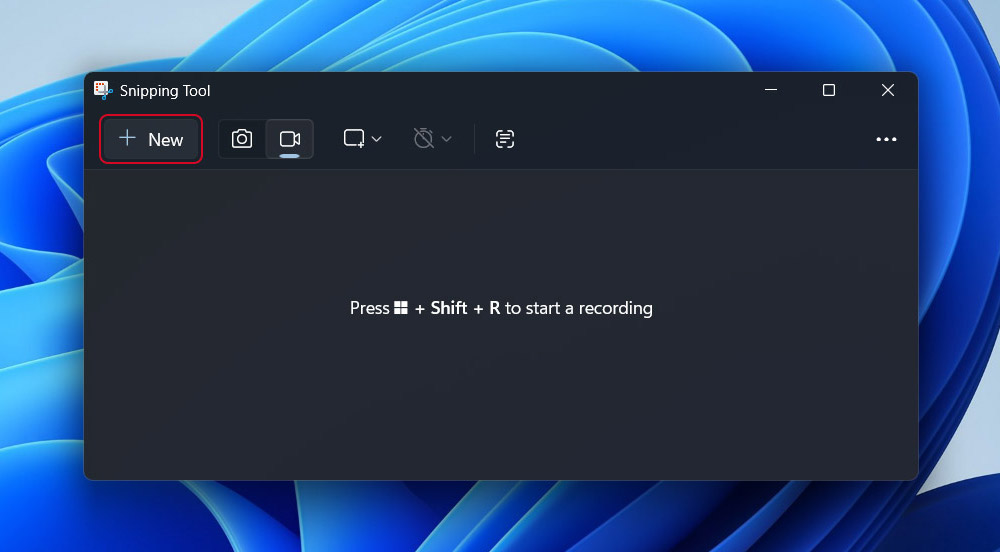
- Open the Recording area dropdown to the right of the video camera icon, then select your preferred recording method – Rectangle or Window.
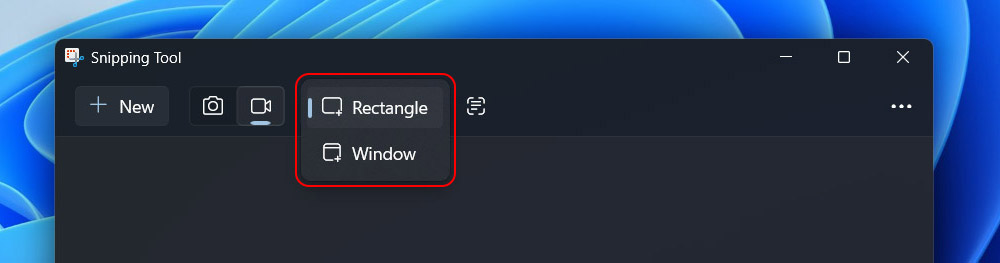
- Click New, then select the area of the screen or window you want to record.
- Click Start to begin recording after a 3-second countdown.
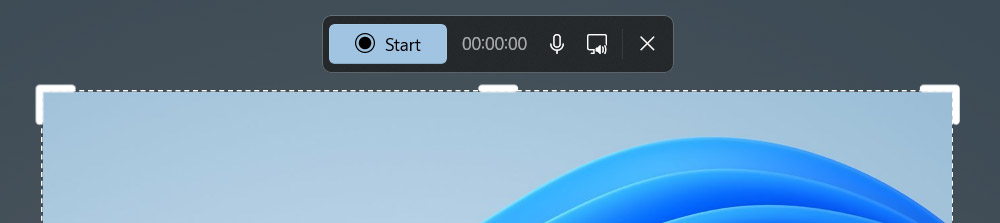
- When you’re done, click Stop.
- Copy the recording to your clipboard, edit it in Windows Clipchamp, or save it to a folder of your choice.
How to Screen Record with Xbox Game Bar
As its name suggests, Xbox Game Bar (or simply Game Bar) was designed primarily for recording games, but it is equally useful for capturing desktop applications. Note that it cannot record the Windows desktop, File Explorer, or a custom area of the screen. It simply records whichever app window or game is currently active.
Here’s how to record an active application or game using Game Bar:
- Ensure Game Bar is enabled from Windows Settings > Gaming > Game Bar.
- Open Game Bar by searching for it from the Start Menu or by pressing Windows + G.
- Click the camera icon at the top to open the Capture widget.
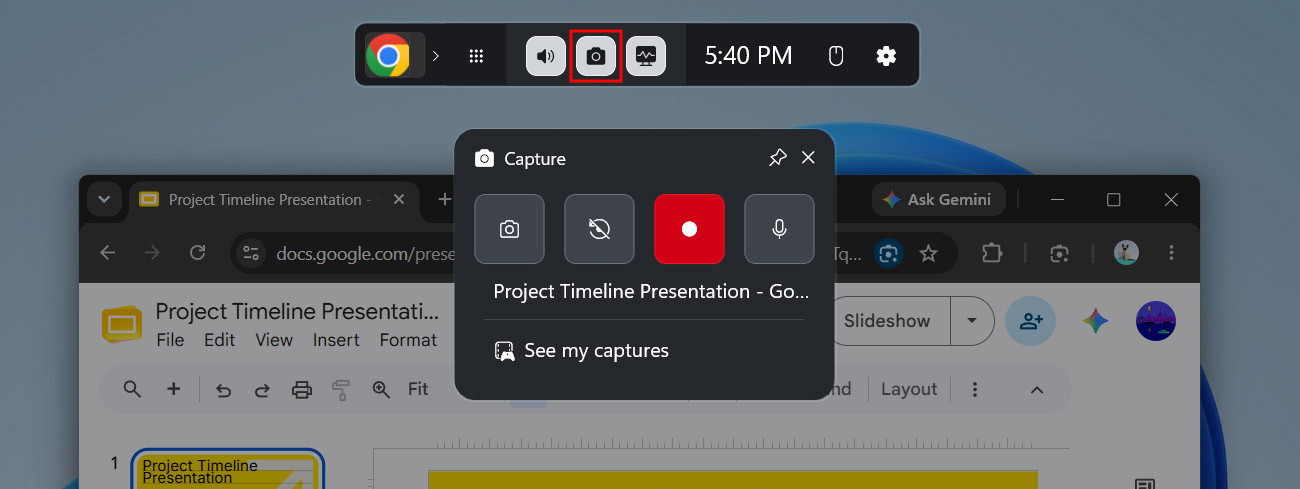
- Hit the Record button in the Capture widget to begin recording. The microphone is disabled by default, but can be easily enabled by clicking the mic icon in the Capture widget or the floating controls that appear after recording starts.
- When you’re done, click the Stop button next to the floating timer. Recordings are saved to the Users\[Your Username]\Videos\Captures path on your Windows drive by default.
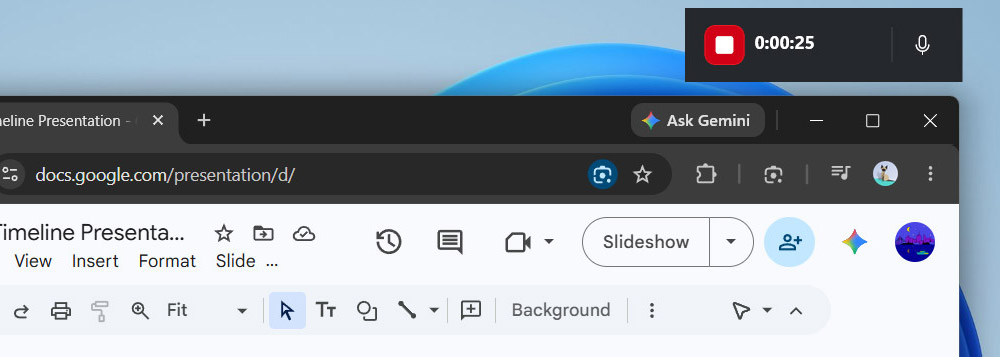
Alternatively, you may hit Windows + Alt + R to quickly start recording an active window or application.
Game Bar also allows you to record the past few seconds or minutes of screen activity by pressing Windows + Alt + G. This retroactive recording feature is disabled by default. Here’s how to enable and configure it:
- Assuming Game Bar is already enabled, go to Windows Settings > Gaming > Captures.
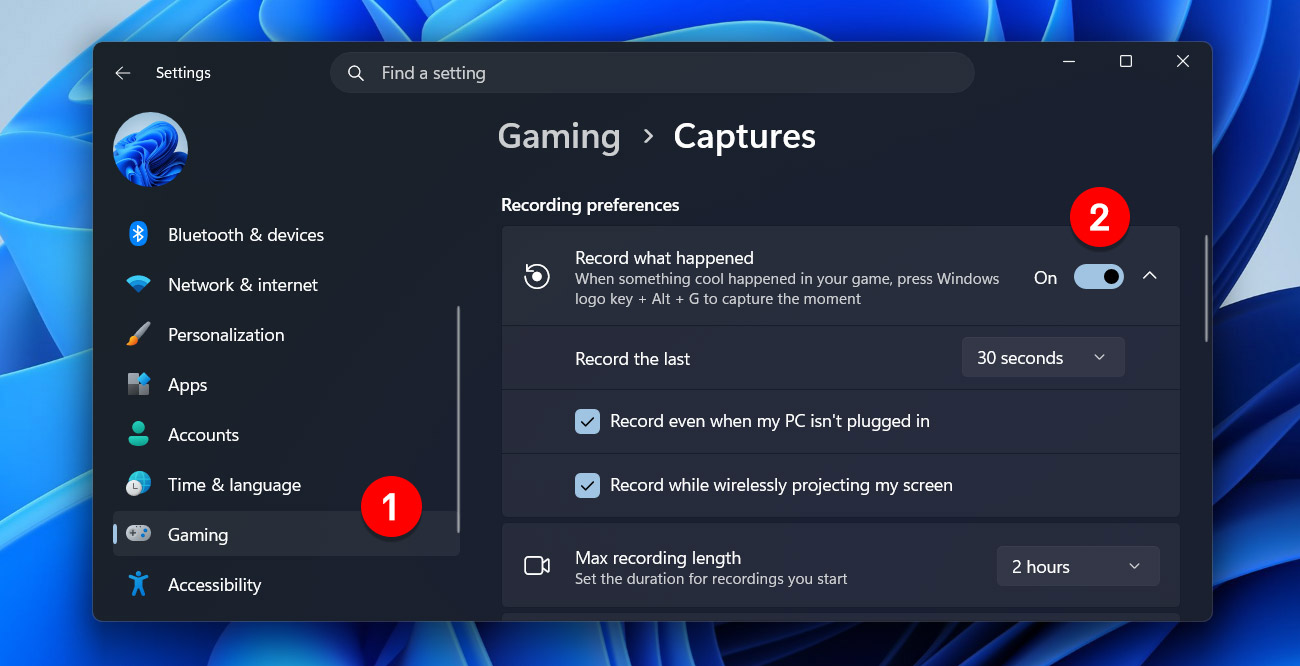
- Set Record what happened to On.
- From the dropdown that appears right below this setting, choose the length of your background recordings – from 30 seconds up to a maximum of 10 minutes.
Mic recording is disabled for background recordings by default, but can be enabled by opening up Game Bar, clicking on the Settings icon, and selecting the All option under More Settings > Widgets > Audio to Record.
Note that background recording may impact your system’s performance, varying based on system specifications and usage.
Limitations of Windows Screen Recording Tools
While the built-in tools are convenient, they have several limitations:
- No built-in annotation tools
- Sharing recordings requires additional manual steps
- No cloud-based sharing or collaboration features
- Xbox Game Bar can’t record the desktop or File Explorer
- No automatic transcription or captions
- Limited customization options
If you regularly create tutorials, product demos, customer support videos, or presentations, these limitations are likely to become frustrating.
How to Record Your Screen with Jumpshare
Jumpshare makes screen recording fast, simple, and much more flexible. In addition to recording your screen, it lets you edit, share, and collaborate, all from one place. It’s designed as a complete screen capture solution, suitable for both quick video messages and highly polished presentations.
Here’s how to record your screen with Jumpshare:
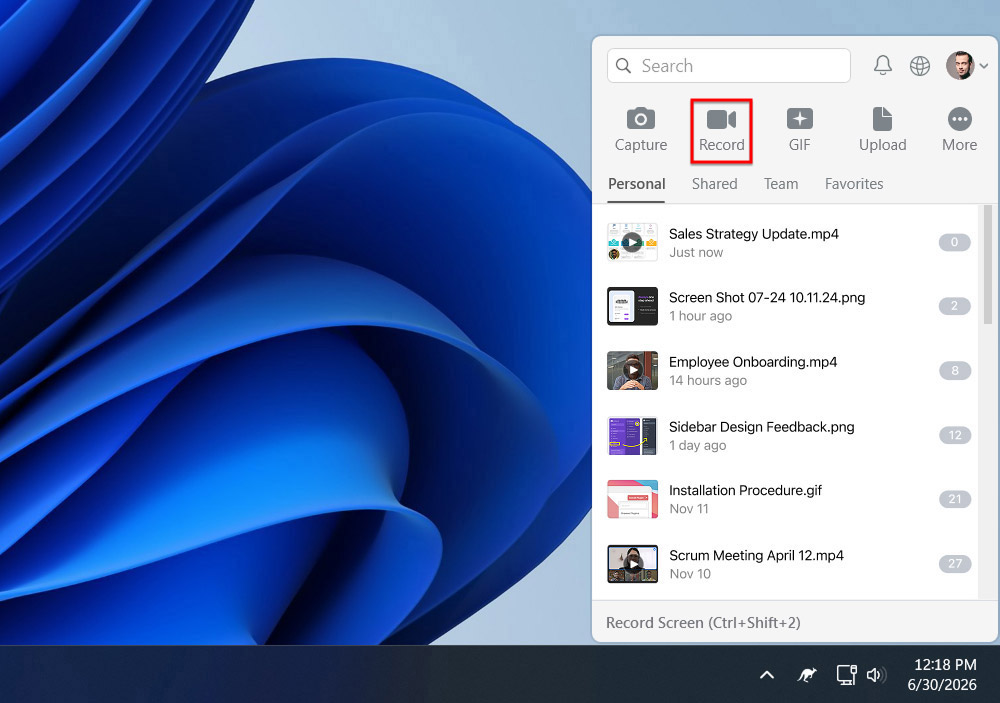
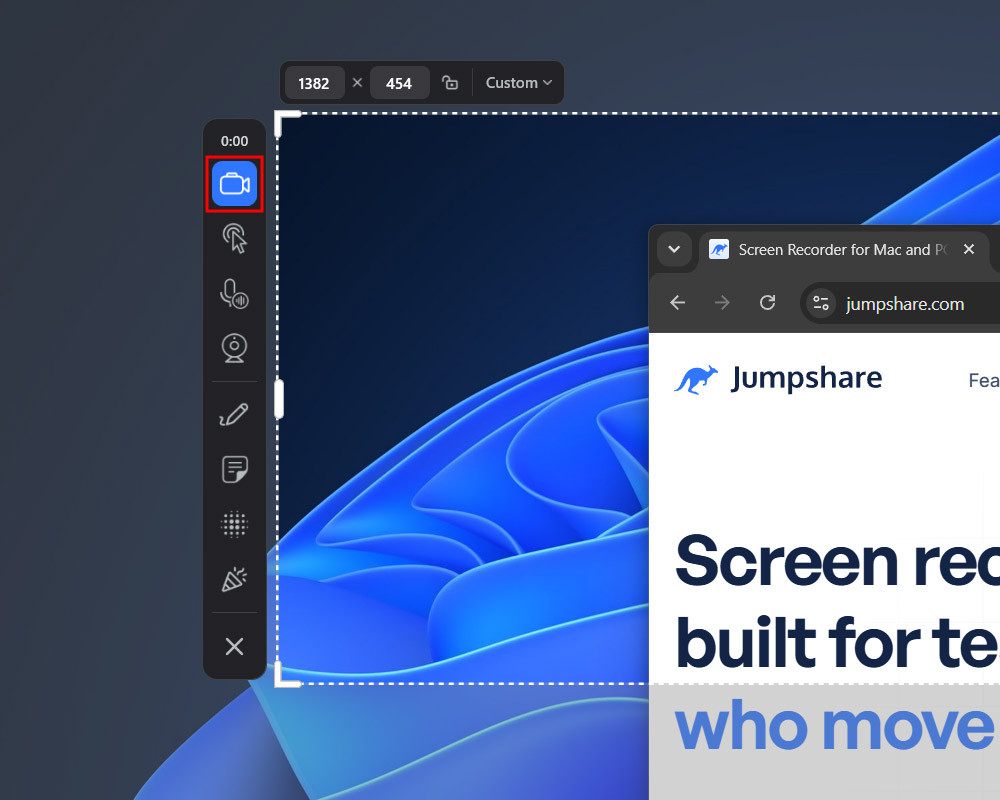
- Open Jumpshare by clicking on its icon in the System Tray and select the Record option from the top of the Jumpshare window. Alternatively, you may press Ctrl + Shift + 2.
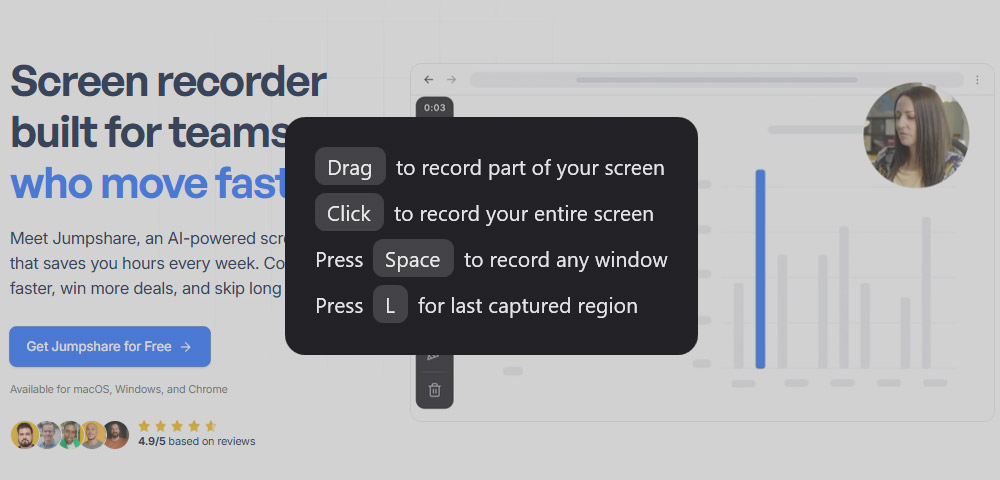
- Choose your recording mode – click and drag to select a part of your screen, click to select the entire screen, or press Space to select a window.
- Customize your recording experience before you start. Enable microphone and system audio recording, add your webcam, move it anywhere on the screen, choose its size and shape, and replace its background. You can also highlight mouse clicks, hide the cursor from the recording, and blur sensitive areas of your screen.
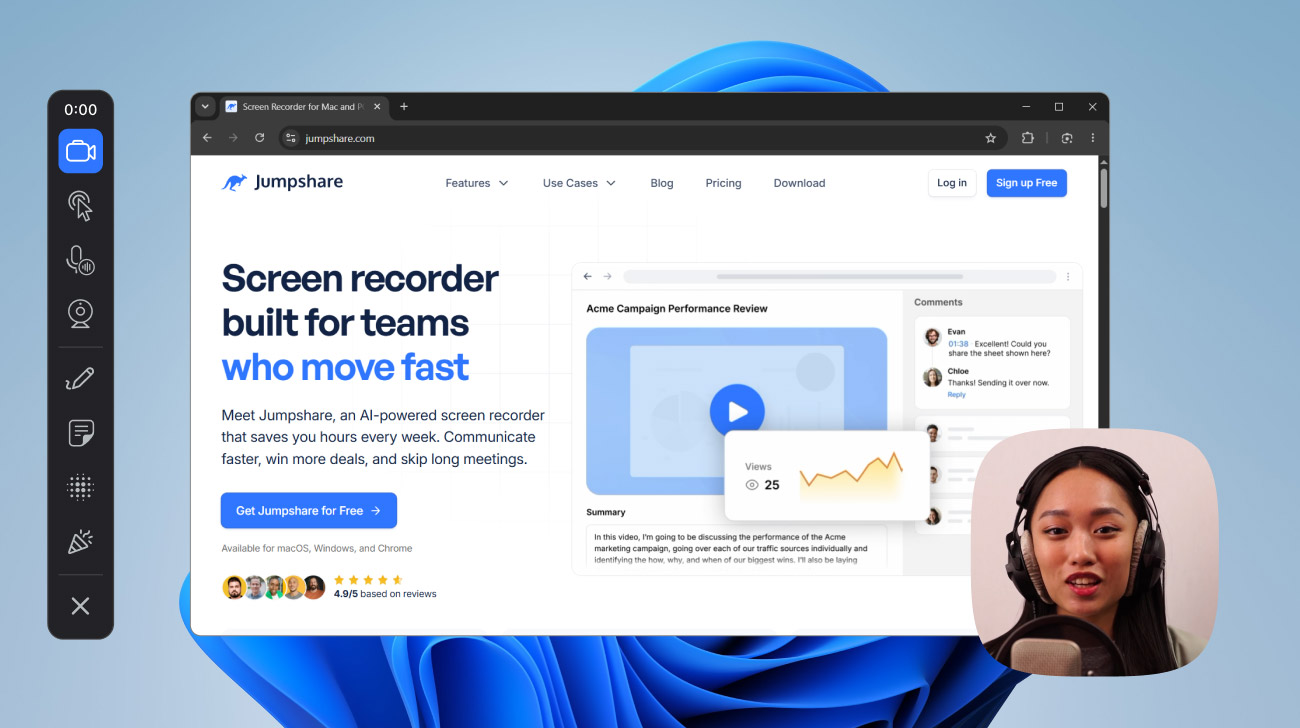
- Click the Record button (or press Alt + Shift + S) to begin recording after a skippable 3-second countdown. Use the recording bar to toggle live annotation (Draw) or bring up a built-in virtual teleprompter (Notes) at any point.
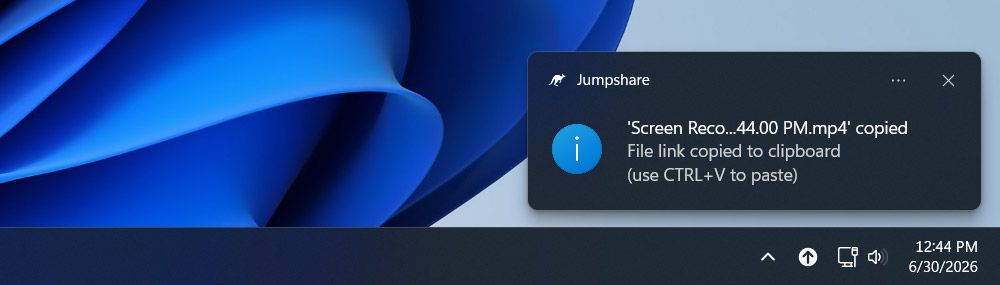
- Hit Stop when you’re done. This will upload the screen recording to your online library and instantly copy a shareable link to your clipboard.
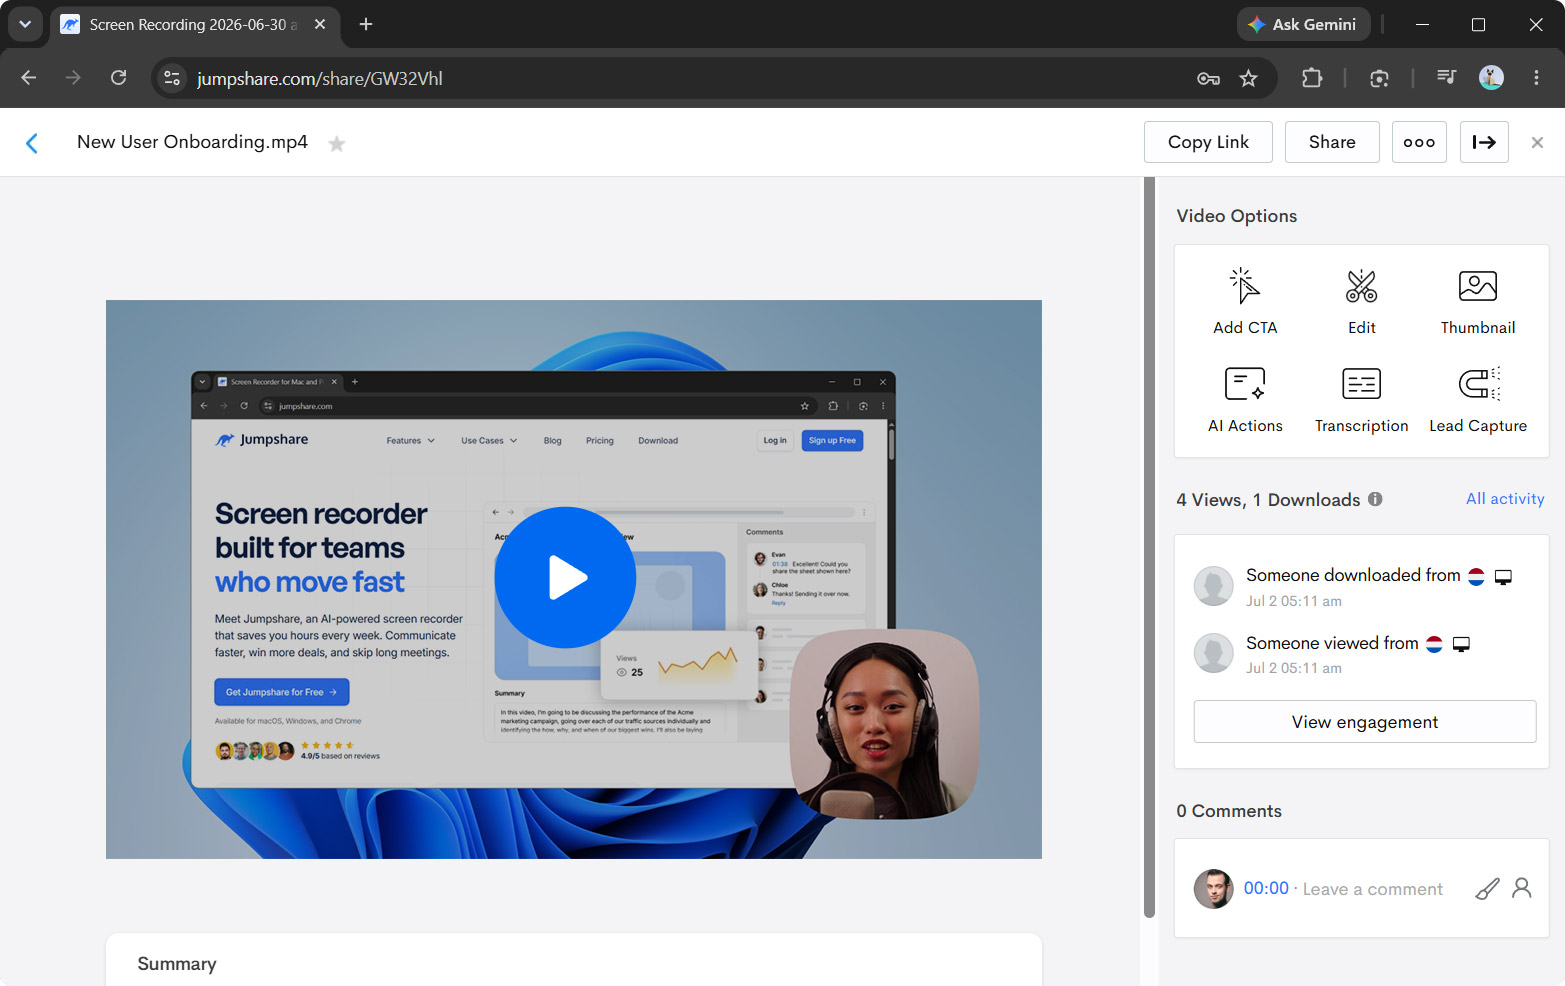
- Review and further polish your video before you share it by opening it from the list of uploads shown in the Jumpshare window. Trim it, merge it with other videos, set a custom thumbnail, add a CTA button, or attach a lead collection form.
What Can Jumpshare Do that Snipping Tool or Game Bar Can’t?
Being a dedicated screen recorder, Jumpshare goes far beyond Windows’ built-in solutions in what it offers. The following, as extensive as it might seem, covers only a portion of Jumpshare’s capabilities:
- Record your entire screen, a specific window, or a selected area
- Record your screen, webcam, or both at the same time
- Change the shape and size of the webcam overlay
- Swap or blur webcam background
- Annotate on screen as you record
- Enable click highlighting
- Blur sensitive information
- Read notes from a virtual teleprompter as you record
- Share anywhere in seconds with a link, copied to your clipboard as soon as you hit stop
- Get automatic transcription, captions, titles, summaries, and chapters for each video
- Collaborate and offer feedback with timestamped comments and video markups
These make Jumpshare ideal for sales pitches, product demos, customer support, team collaboration, bug reports, and online courses.