Screen Recording
 Screenshot Capture
 GIF Capture
 File Sharing & Collaboration
 Jumpshare AI
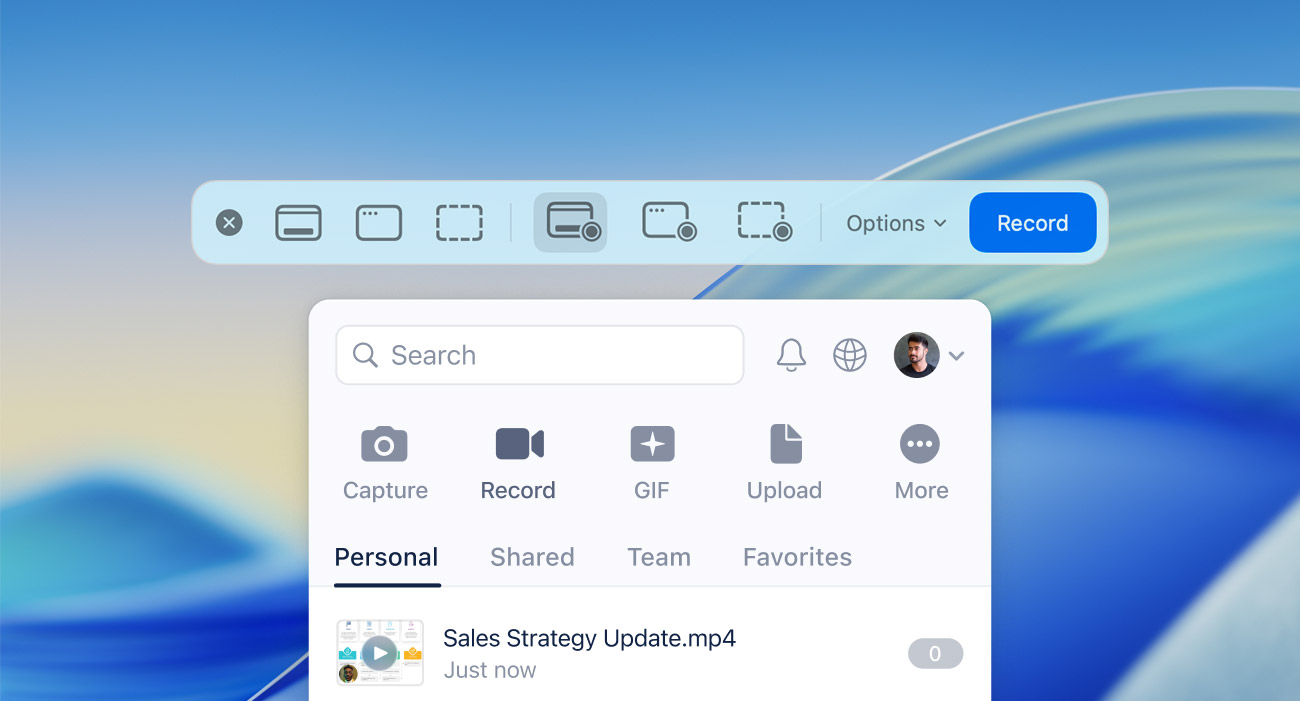
Need to record a meeting, report a bug, or create a video presentation on your Mac? Screen recording is one of the quickest ways to communicate visually without having to schedule a call or write lengthy messages. Fortunately, macOS includes a built-in screen recorder, so you can start recording without having to install anything. If, however, you need advanced recording capabilities, seamless sharing, and a more streamlined workflow, a dedicated app like Jumpshare offers a much more powerful solution.
In this guide, we’ll show you two simple ways to record your screen on Mac:
How to Screen Record Using Mac Screenshot Toolbar
macOS has a built-in screen recording tool that’s easy to access and works well for basic recordings. The Screenshot app (introduced in macOS Mojave) lets you capture screenshots and record your screen without any additional software.
To record your screen:
- Press Shift + Command + 5 to launch the Screenshot Toolbar. Alternatively, you may open Launchpad and launch the Screenshot app, which is inside the Other folder by default.

- Choose either Record Entire Screen, Record Selected Window, or Record Selected Portion from the center of the toolbar. Note that older versions of macOS don’t allow window selection.
- Click Options to choose where your recording is saved, set a starting timer, or enable microphone recording.
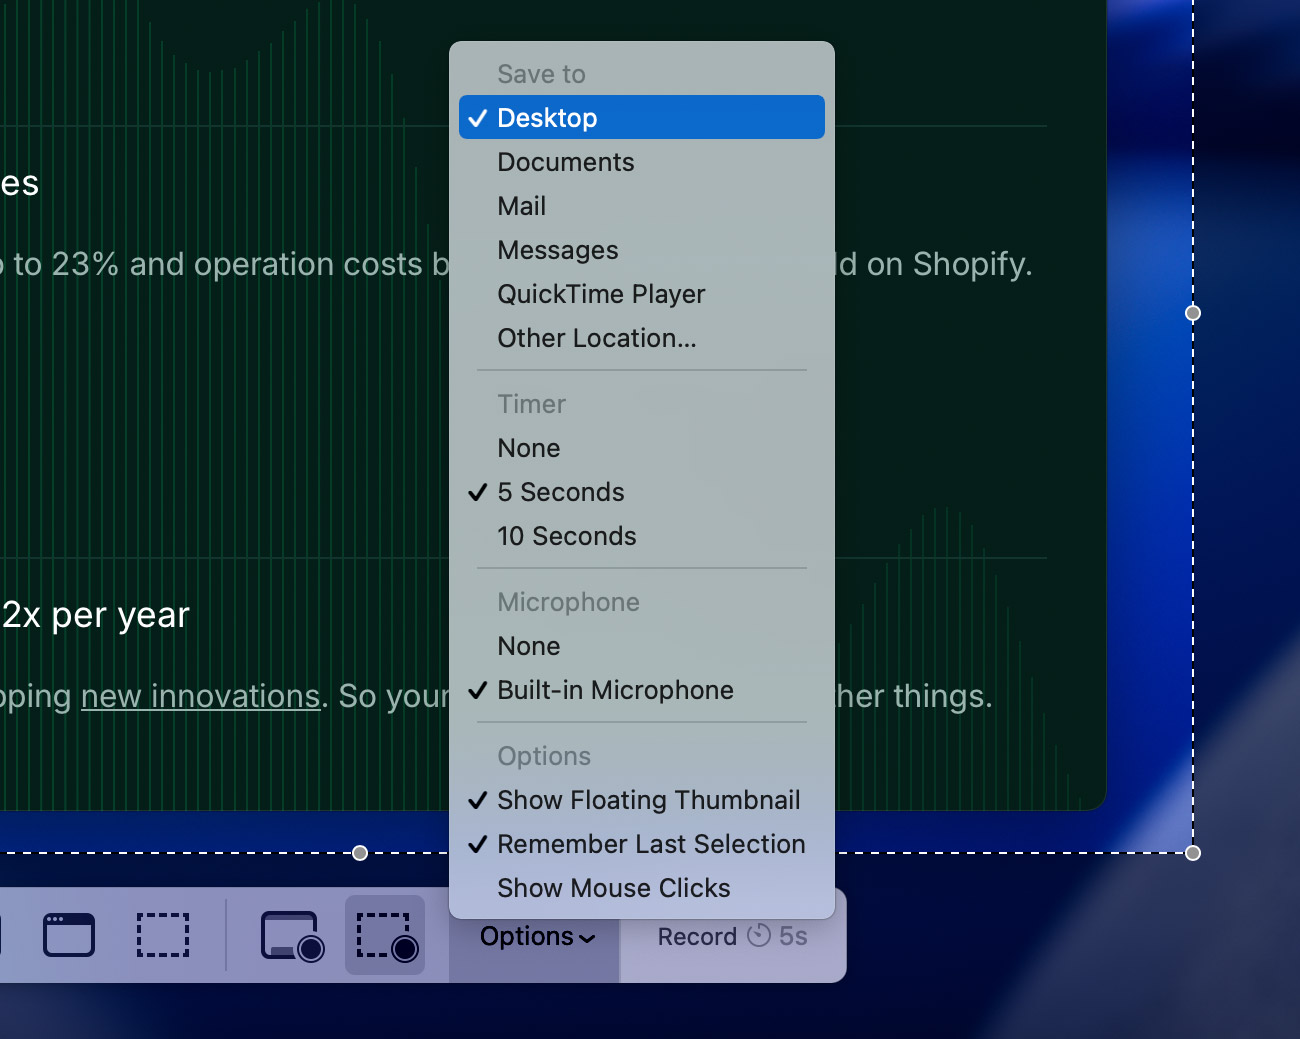
- Hit Record to begin.
- Once you’re done, click the Stop icon in the Menu Bar or press Command + Control + Esc.

- You can now click the little thumbnail that appears in the corner of your screen to edit the video or simply wait for it to be saved to the location you selected, such as your Desktop or Documents folder.
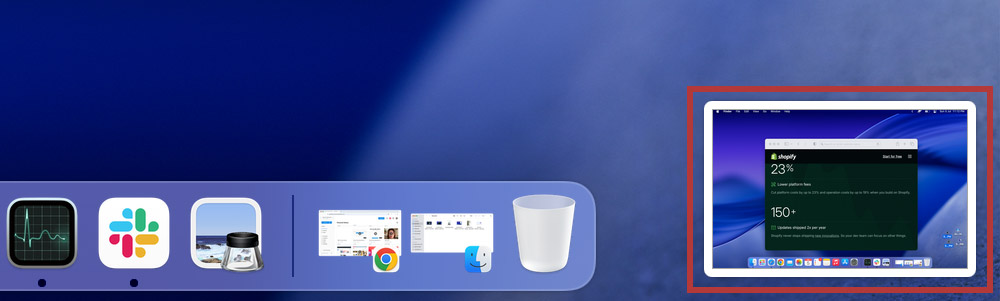
Note that you can still access this screen recorder through QuickTime Player, just as you could in older versions of macOS.
Limitations of the Built-In Mac Screen Recorder
For quick, one-off recordings, the built-in macOS screen recorder is the convenient choice, since it’s already there. However, if you create guides, product demos, customer support videos, or other professional content on the regular, you’ll likely run into a few limitations:
- No system audio recording
- No built-in annotation tools
- No instant sharing or collaboration features
- No automatic transcription or captions
- Limited workflow customization
You could bridge these gaps by installing several additional tools, or speed up your workflow with a one-stop solution.
How to Screen Record on Mac Using Jumpshare
Jumpshare is more than just a screen recorder. It covers all core aspects of modern workflows, letting you record, edit, share, and collaborate, all within a single app. It’s a complete screen capture solution, equally suited for quick video messages and highly polished presentations.
Here’s how to record your screen with Jumpshare:
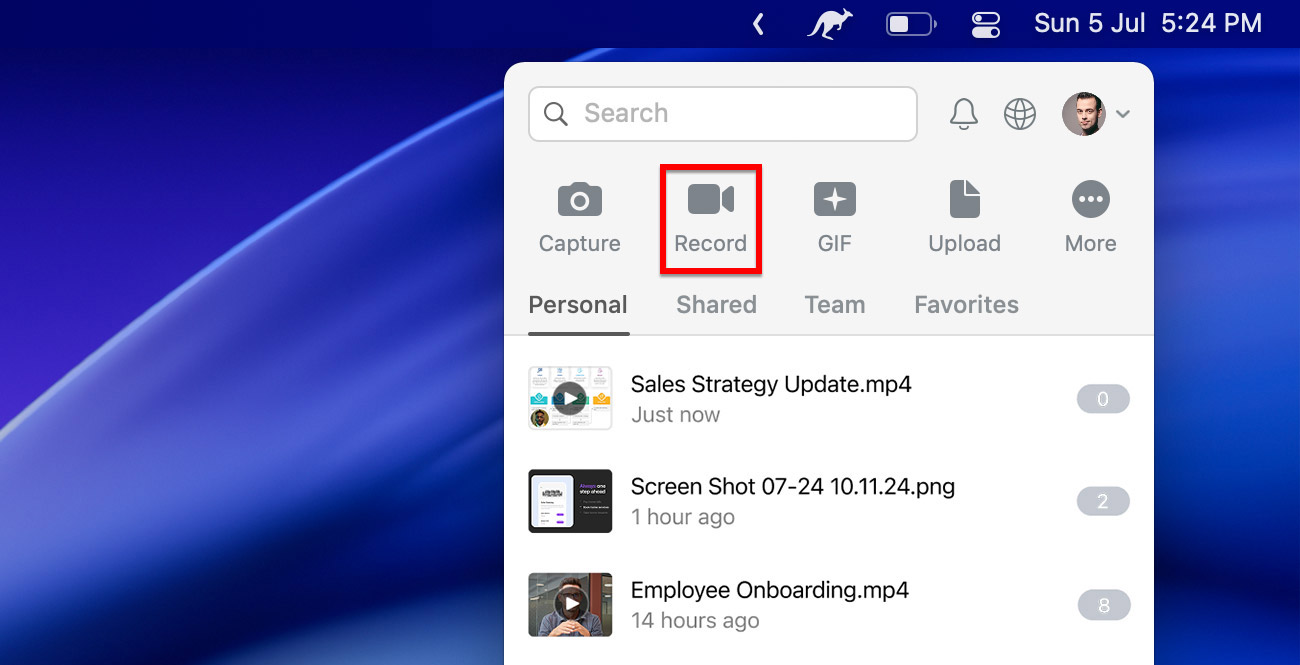
- Launch Jumpshare by clicking on its icon in the Menu Bar, then select the Record option from the top of the pop-up. Alternatively, you may hit Command + Shift + 7. You can change this keyboard shortcut from the app’s preferences.
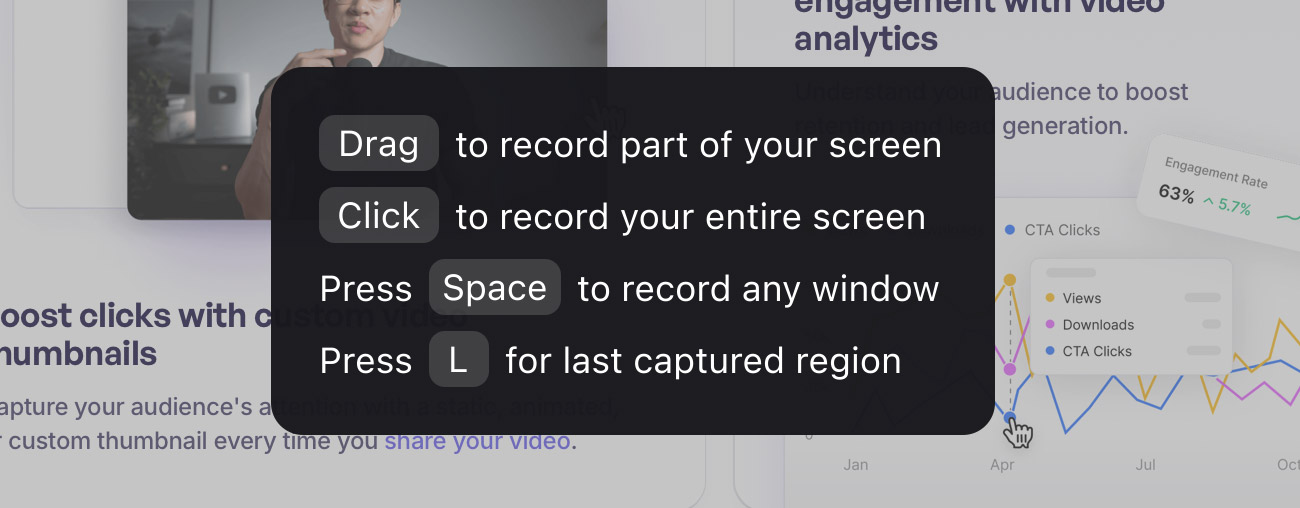
- Choose how you want to record – click and drag to select an area of your screen, click to select the entire screen, or press Space to select a window.
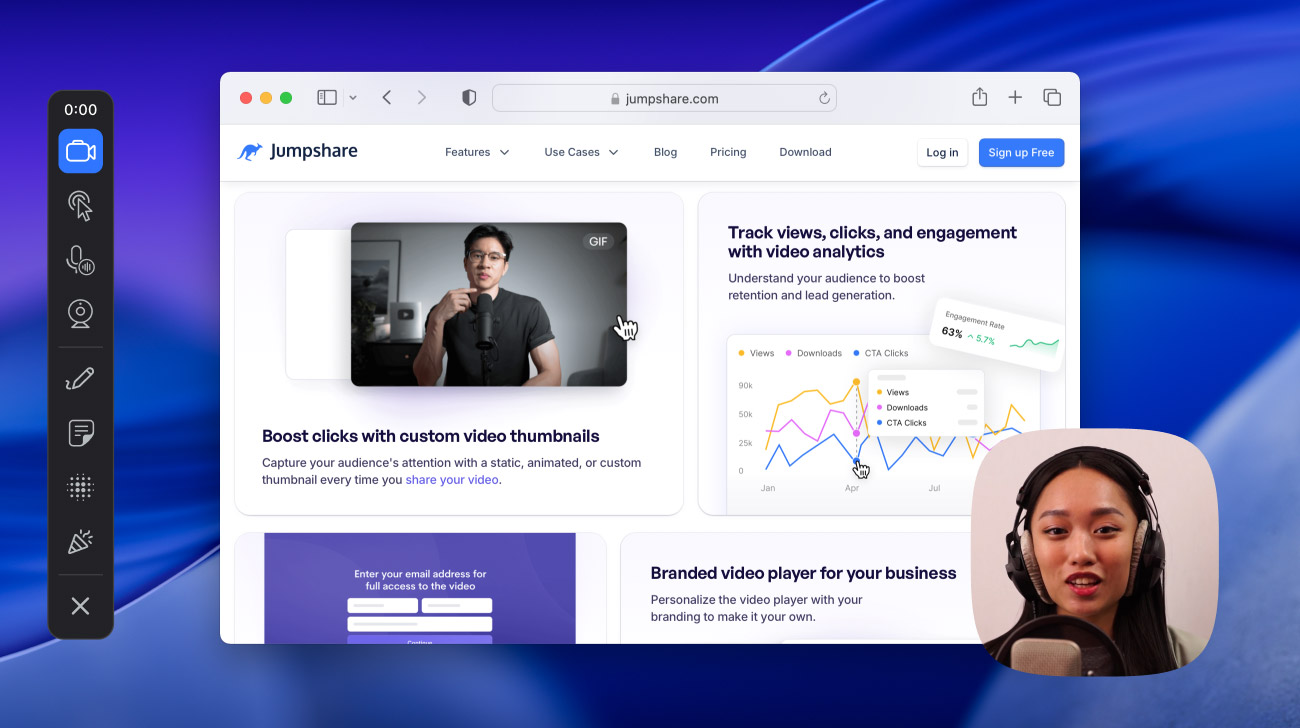
- Fully customize your recording before you begin. Enable microphone and system audio* recording, turn on your webcam, reposition it freely, pick a webcam style and shape, and change your webcam background. You can also enable click highlighting, disable mouse cursor recording, and select any areas of the screen you’d like to blur.
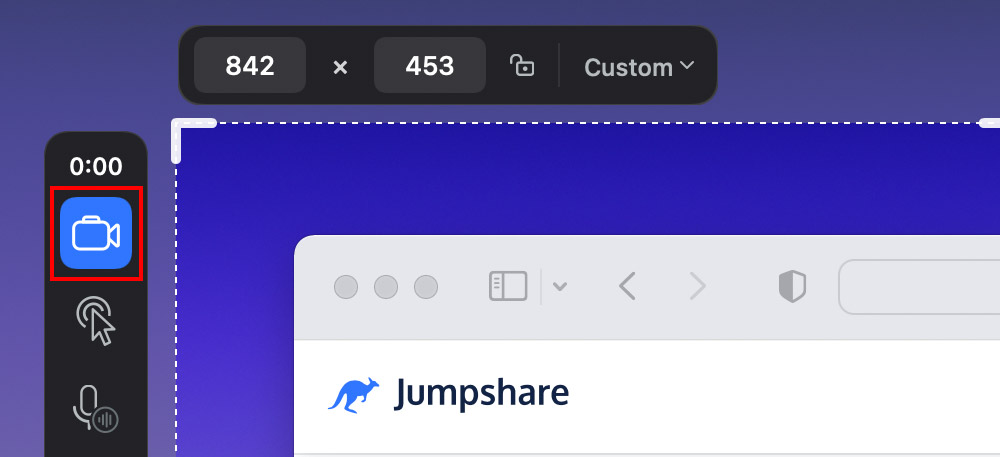
- Click the Record button to begin. Select the Draw tool to start live annotation or click Notes to bring up a built-in virtual teleprompter at any point during the recording.
- Hit Stop when you’re done. This will upload the screen recording to your online library and instantly copy a shareable link to your clipboard.
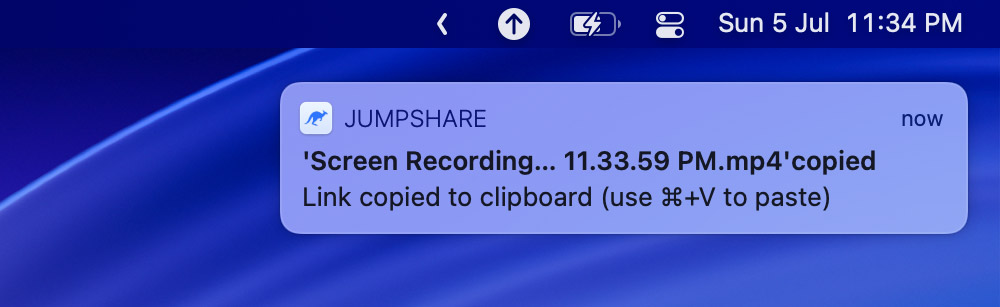
- You can now open your finished recording from the uploads list in the Jumpshare window to review and edit it, merge it with other videos, set a custom thumbnail, add a customizable call-to-action (CTA) button, or even embed a lead capture form.
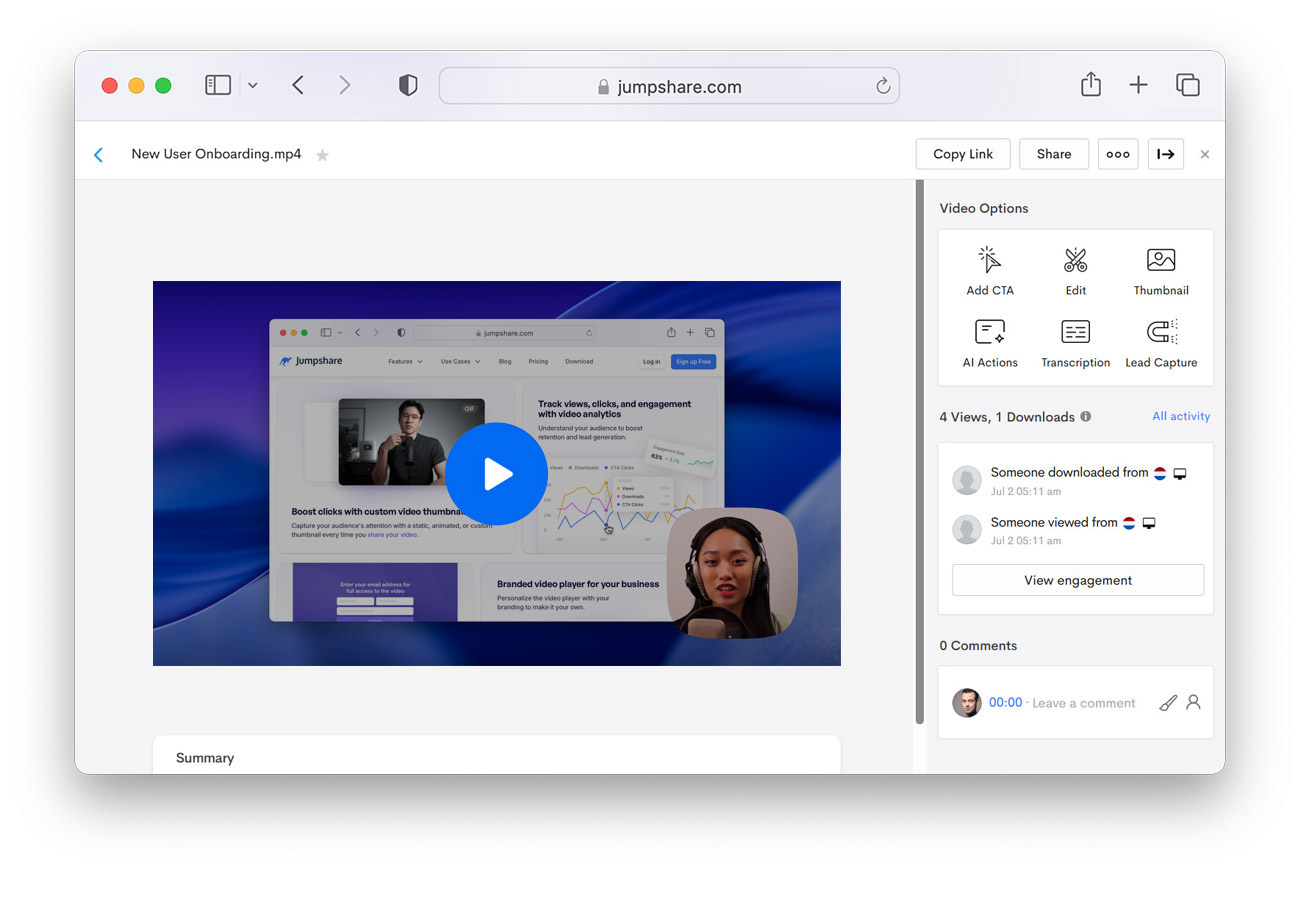
*System audio recording is only available for macOS Ventura and onwards.
Why Choose Jumpshare Over the Built-In Mac Screen Recorder?
The built-in macOS screen recorder is great for capturing simple recordings, but Jumpshare is designed for people who need to create, edit, share, and collaborate, all from a single app.
With Jumpshare, you can:
- Record your entire screen, a window, or a selected region
- Capture your screen, webcam, or both simultaneously
- Customize your webcam overlay with different sizes and shapes
- Replace or blur your webcam background
- Draw and annotate live while recording
- Highlight mouse clicks to guide viewers’ attention
- Hide sensitive information with the blur tool
- Narrate from a built-in floating teleprompter
- Instantly share your recordings using a link, copied to your clipboard as soon as you hit stop
- Get AI-powered transcriptions, captions, titles, chapters, and summaries
- Collect feedback with timestamped comments and video annotations
That’s not all; Jumpshare offers granular control over sharing and privacy as well as advanced analytics to help you keep track of your viewership. It is a complete solution to tackle a wider variety of use cases, including sales pitches, product demos, customer support, team collaboration, bug reports, and online courses.