Screen Recording
 Screenshot Capture
 GIF Capture
 File Sharing & Collaboration
 Jumpshare AI
Many of you are using Jumpshare to communicate visually during the pandemic, with video messages being one of the primary methods to get your feedback and ideas across. Today we’re excited to expand the video features to help you edit, customize, and collaborate even better.
Trim Video
After recording a video, you can now trim it to remove unnecessary parts before sharing. We’ve added a new editing panel on the right sidebar of the file viewer to help you quickly use any of the available editing options.

Click Trim from the right sidebar and you will enter the Trimming mode. You will notice two red flags in the video player, you can adjust them and click the “Trim” button to remove that portion out from the video. If you want to be more precise, you can use the time boxes in the right sidebar to adjust the portion you want to remove from the video. You can remove multiple portions at once. When done, just click Publish and your new video will be ready to be shared with your audience.
Custom & Animated Thumbnail
Going forward, we’ve drastically improved the video experience by allowing you to either choose a custom thumbnail or generate a GIF thumbnail for all of your videos. This helps your audience get a sneak peek of the video before playing it and it looks even better when the video is embedded on your website.
Click the Thumbnail option from the right sidebar and you will find options to either choose a new thumbnail from any frame in the video or upload a custom thumbnail. If you prefer a GIF thumbnail, switch over to the Animated tab and choose between the default animation, custom animation from any point in the video or upload a GIF.
If you’ve embedded a video anywhere and later update the thumbnail, it will be applied automatically without having to embed again.
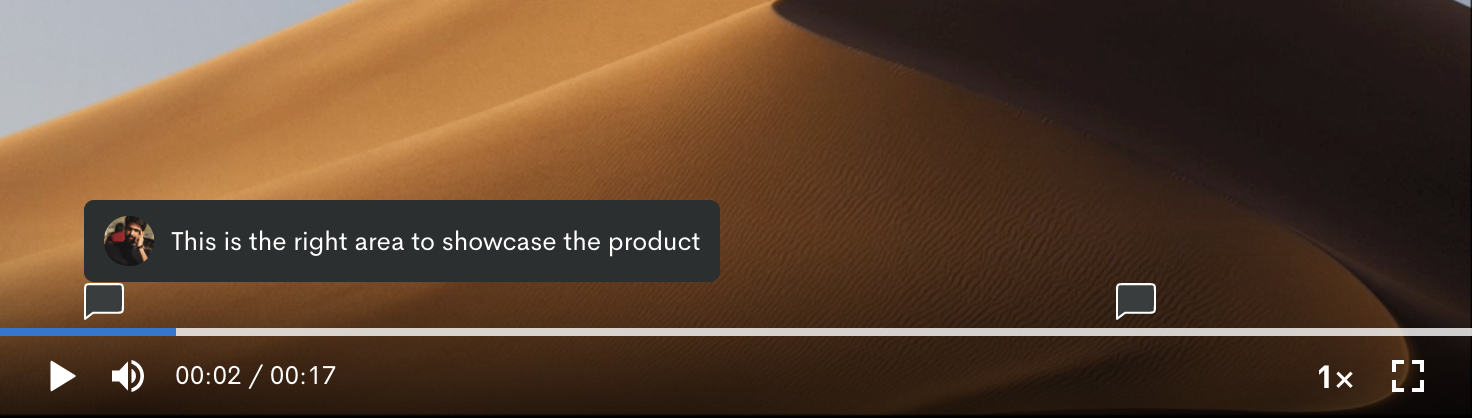
Timed Comments
We’ve made Time comments even better by showing them inside the video player which makes collaboration easier. Just hover over any comment icon in the video player and you will see a preview of the comment. Click the comment preview, and it will take you to the comment in the sidebar, highlighting it clearly.
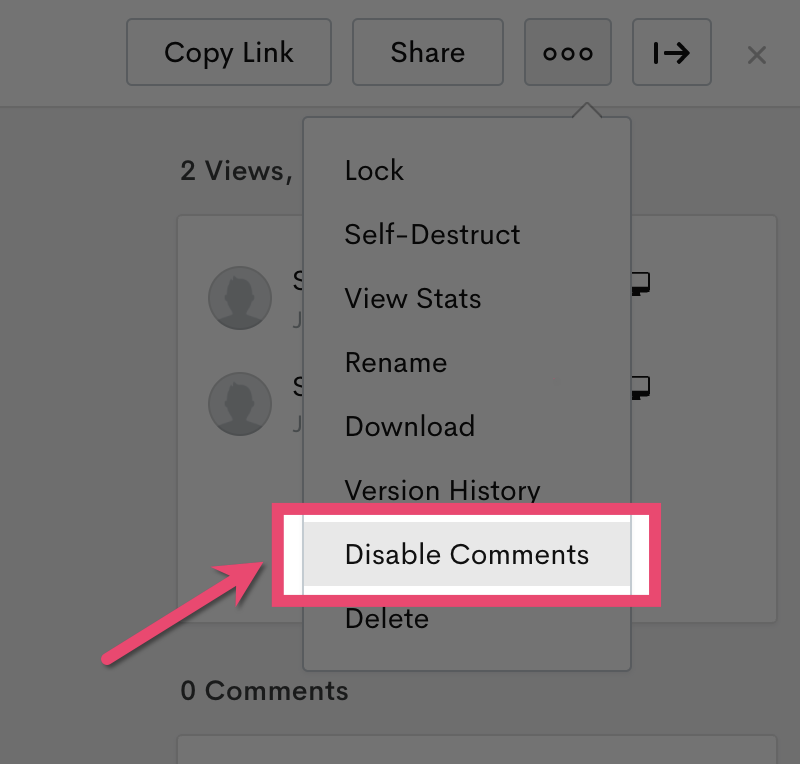
Disable Comments
Earlier, you could disable comments for either all your files or no file at all. That’s changing now with a new option to disable comments for individual files. Open any file in the viewer, visit the More drop-down menu, and click the “Disable Comments” option to disable comment for that file. Once disabled, neither your team members nor guests can leave comments until you enable again from the same More drop-down menu.
That’s all for now! We hope you like these features and that they help you to communicate better from your home, office, or a hybrid workplace.